Devices
Automatic Device Discovery
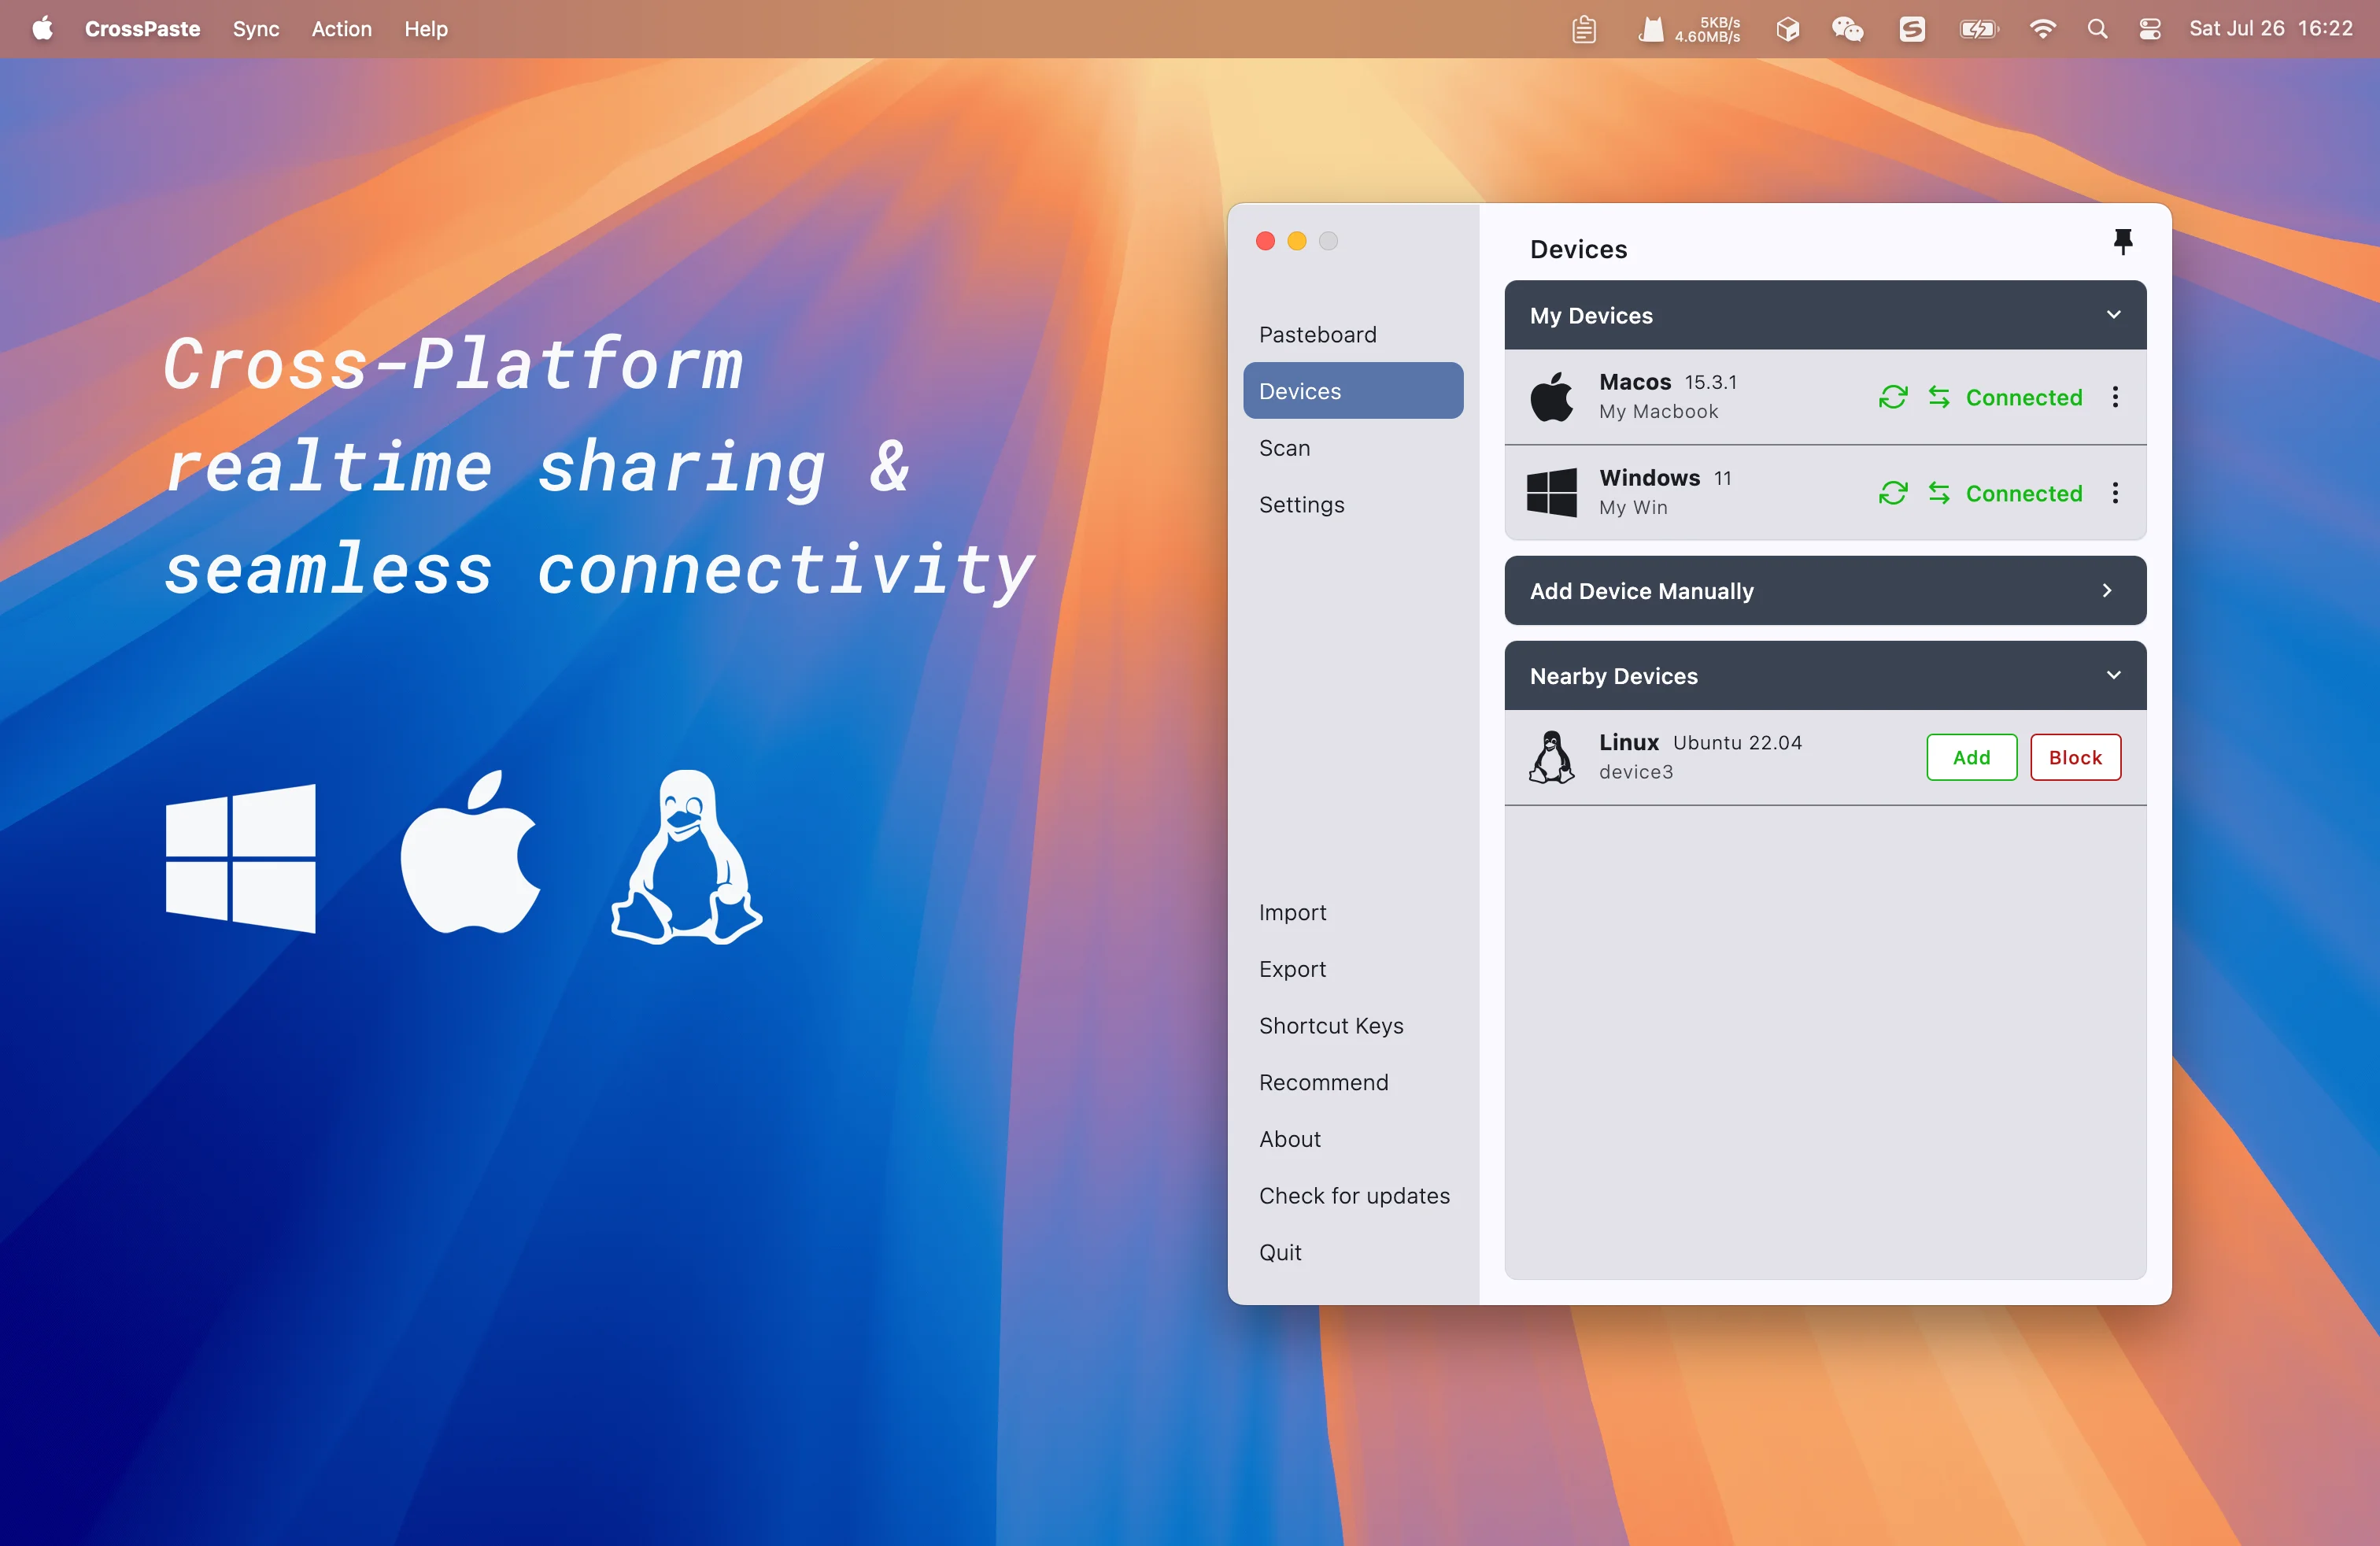
After launching CrossPaste, the software automatically scans for other devices running CrossPaste on the local network.
- These devices will be displayed in the "Nearby Devices" list.
- You can choose to add trusted devices or block devices you don't want to connect to (to unblock, go to
Settings > Network > Blacklistand remove the device from the blacklist).
Adding New Devices
Click the Add button next to the device you want to connect to.
- The system will ask you to enter a token. This token will be automatically displayed on the target device.
- After entering the correct token, the device will be added to the "My Devices" list.
- This process ensures that only devices you trust and control can connect to each other, guaranteeing security.
Managing Connected Devices
After adding a device, you can perform the following operations:
1. Modify Device Notes
- Click the menu icon to the right of the device and select "Modify Notes".
- Set an easy-to-remember name for the device, especially when you have multiple similar devices.
2. Remove Device
- If you no longer need to share pasteboards with a device, you can remove it (removed devices will need to be re-verified to connect again).
Viewing Device Details
Click the menu icon to the right of the device and select "Device Details" to:
1. View detailed information about the device
- System type and version
- CrossPaste software version
- Device name and username
2. Adjust synchronization options
- Allow receiving pasteboards from this device
- Allow sending pasteboards to this device
You can turn these options on or off as needed, flexibly controlling the direction of pasteboard synchronization.